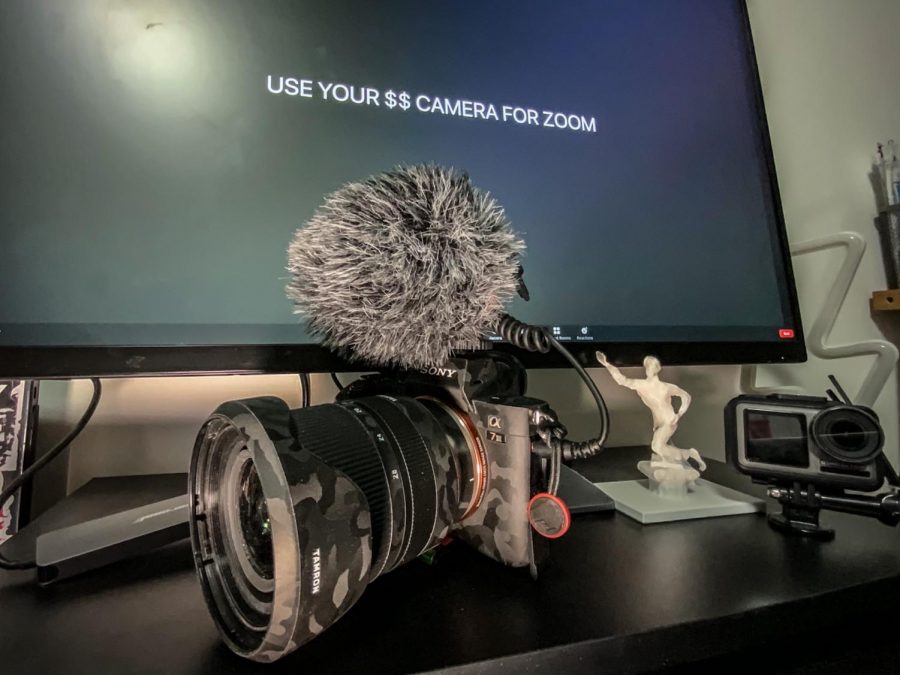
Tired of staring at a poor-quality, dull video of yourself that hides your beauty and handsomeness during your daily Zoom classes? Well, who isn’t?
Exhausted from looking like a Minecraft character on Zoom with my low-quality webcam, I decided to see if it is possible to substitute my webcam with my high-end Sony camera. In the video settings of Zoom, there is a selection bar regarding the camera. Therefore it is possible to connect the camera via a cable and use it as the webcam for Zoom. After 3 long hours of testing, downloading and upgrading, my experiment was a success.
By the way, I assumed your Zoom has the latest version- if not, you must update it for this to work!
Here is the full tutorial on how to turn your camera into your webcam for Zoom classes. Get ready to surprise your classmates with some television-level video quality!
The camera I tested was a Sony ILCE-7SM3, also known as the A7III so if you happen to be a Sony user, you are in luck. If you own a Cannon, Leica, or Nikon camera, the essential steps should look very similar.
To begin with the Sony A7III, here are the first three steps to take in the settings page. Each of these icons match exactly with the real settings, so just follow along.
- MENU → (Network) → Transfer/Remote → Ctrl w/ Smartphone → Ctrl w/ Smartphone → Off
- MENU → (Network) → Transfer/Remote → PC Remote Function → PC Remote → On
- MENU → (Network) → Transfer/Remote → PC Remote Function → PC Remote Cnct Method → USB
If you happen to own a Sony camera that’s A7II, A7SII, A7RII or anything along the line, this is the step to take, because there’s no Network button in the older cameras.
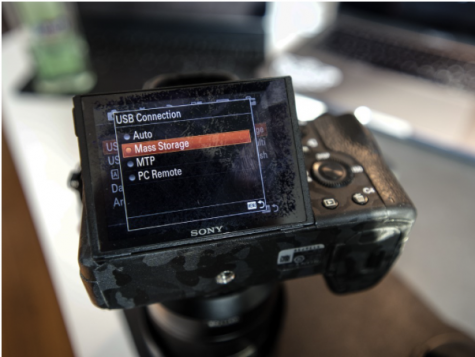
– MENU → (Setup) → USB Connection → PC Remote
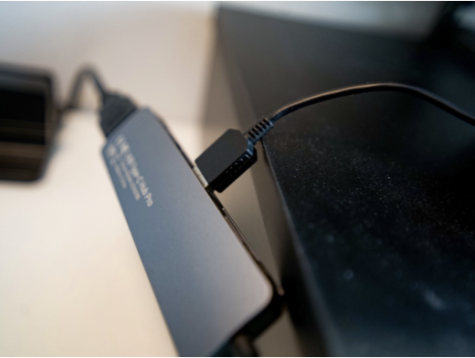
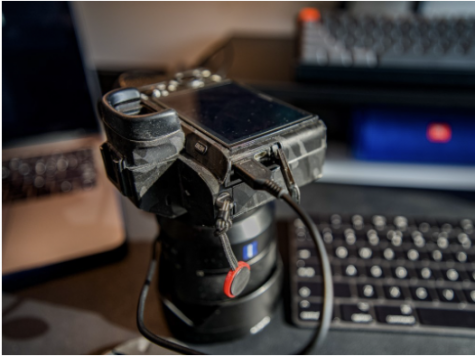
After the settings are set, it is now time to connect your camera to your laptop with a cable, preferably the one provided by Sony. Don’t forget to use the proper adaptor if you have the new MacBook!
Now that the camera part is all set, it is time to get your laptop ready!
For Sony users, you will have to download an application called Imaging Edge, which allows you to capture the live video off your camera and transfer it onto zoom. It is provided officially by Sony, so it is safe and free. Here’s the link to the downloads of Imaging Edge: https://support.d-imaging.sony.co.jp/app/webcam/en/
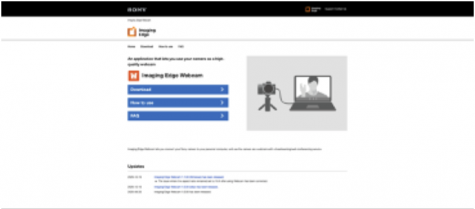
If your page looks like this, congrats! You’re in the right place and we’re almost there!
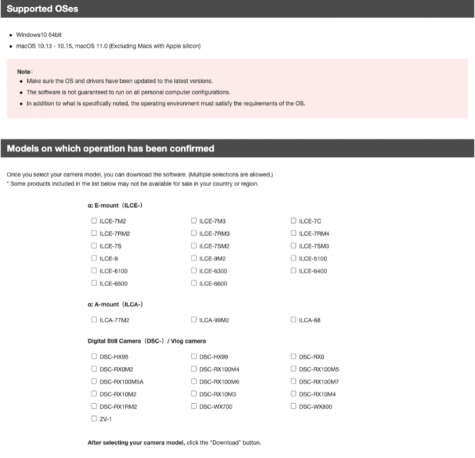
Once you hit the download button, it’s going to take you to this page to confirm your model. Simply check the boxes that apply. If you’re unsure which Sony model you own, it’s on the sticker at the bottom of your camera.

After you check the boxes, the grey download buttons will turn blue, and you can now download the pack, respectively, according to your system. Since I have already downloaded the application, I can’t do it again to show what it looks like, but it is just going to be three or four consecutive “continue” buttons. It should be noted that you have to restart your laptop once you complete the downloading process, and it might take up to several minutes. Sit back and have a sip on your jasmine milk tea during this time, no need to panic at all.
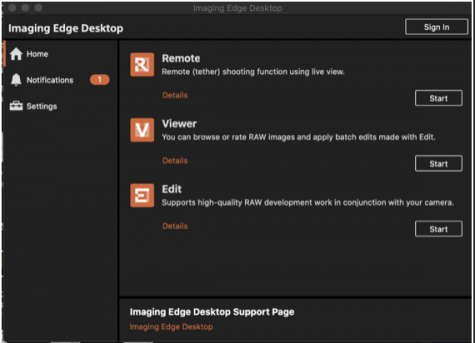
Once your laptop restarts, you should be able to access the Imaging Edge page, which would look like this. Select “Remote” and press the start button.
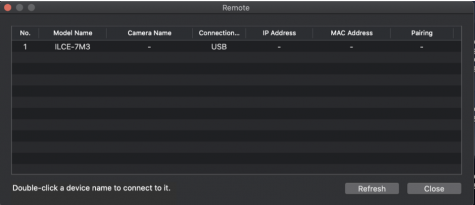
Now you are in, you should be able to see your camera here. If you don’t see it, check if your cable is successfully plugged in, and hit refresh.
After selecting your camera, you are going to see that now whatever your camera captures is now on a much bigger screen.
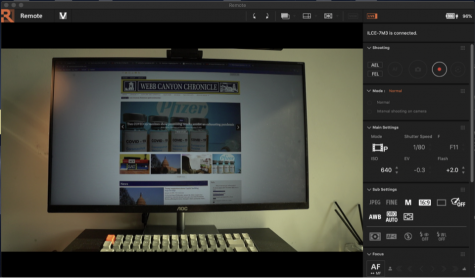
It will look something like this—apologies for the shameless advertising here.
After this step is done, your laptop can now be in sync with your camera, and it’s successfully “registered” to your laptop. Now, it’s time to fire up Zoom and test it out.
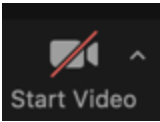
By clicking on the little arrow next to “Start Video,” you can go into video settings.
Simply change your camera from “Built-in” to your Sony Camera.
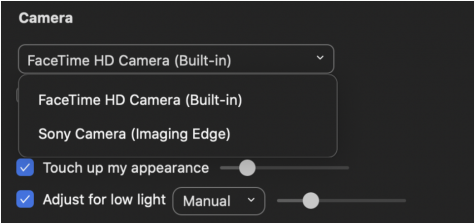
When you are setting up your camera on Zoom, make sure Imagine Edge is not open, or running in the back. Quit the application, it still works fine.
Woohoo! We’re done! Now, you can have something that looks like this—with a sharp focus on the dreamy eyes (no debates allowed here) of mine, and a great depth of field in the back!

A little bonus for Canon users: if you are using a Canon camera, the process should be much easier. I don’t personally own a Canon camera, so I will not have the opportunity to provide a tutorial. I’m still open to sponsorships, though! Jokes aside, you simply connect your camera to your laptop with a cable after downloading Canon’s application, and that’s it. Step up your game, Sony!
Here’s the official tutorial from Canon: https://www.youtube.com/watch?v=rt_0Ve9Ajo0&feature=emb_logo
Here’s the link for Canon’s image capturing application: https://Canon.us/ctb9a
Hope this tutorial helped you in some way, and please don’t hesitate to reach out for more help!